
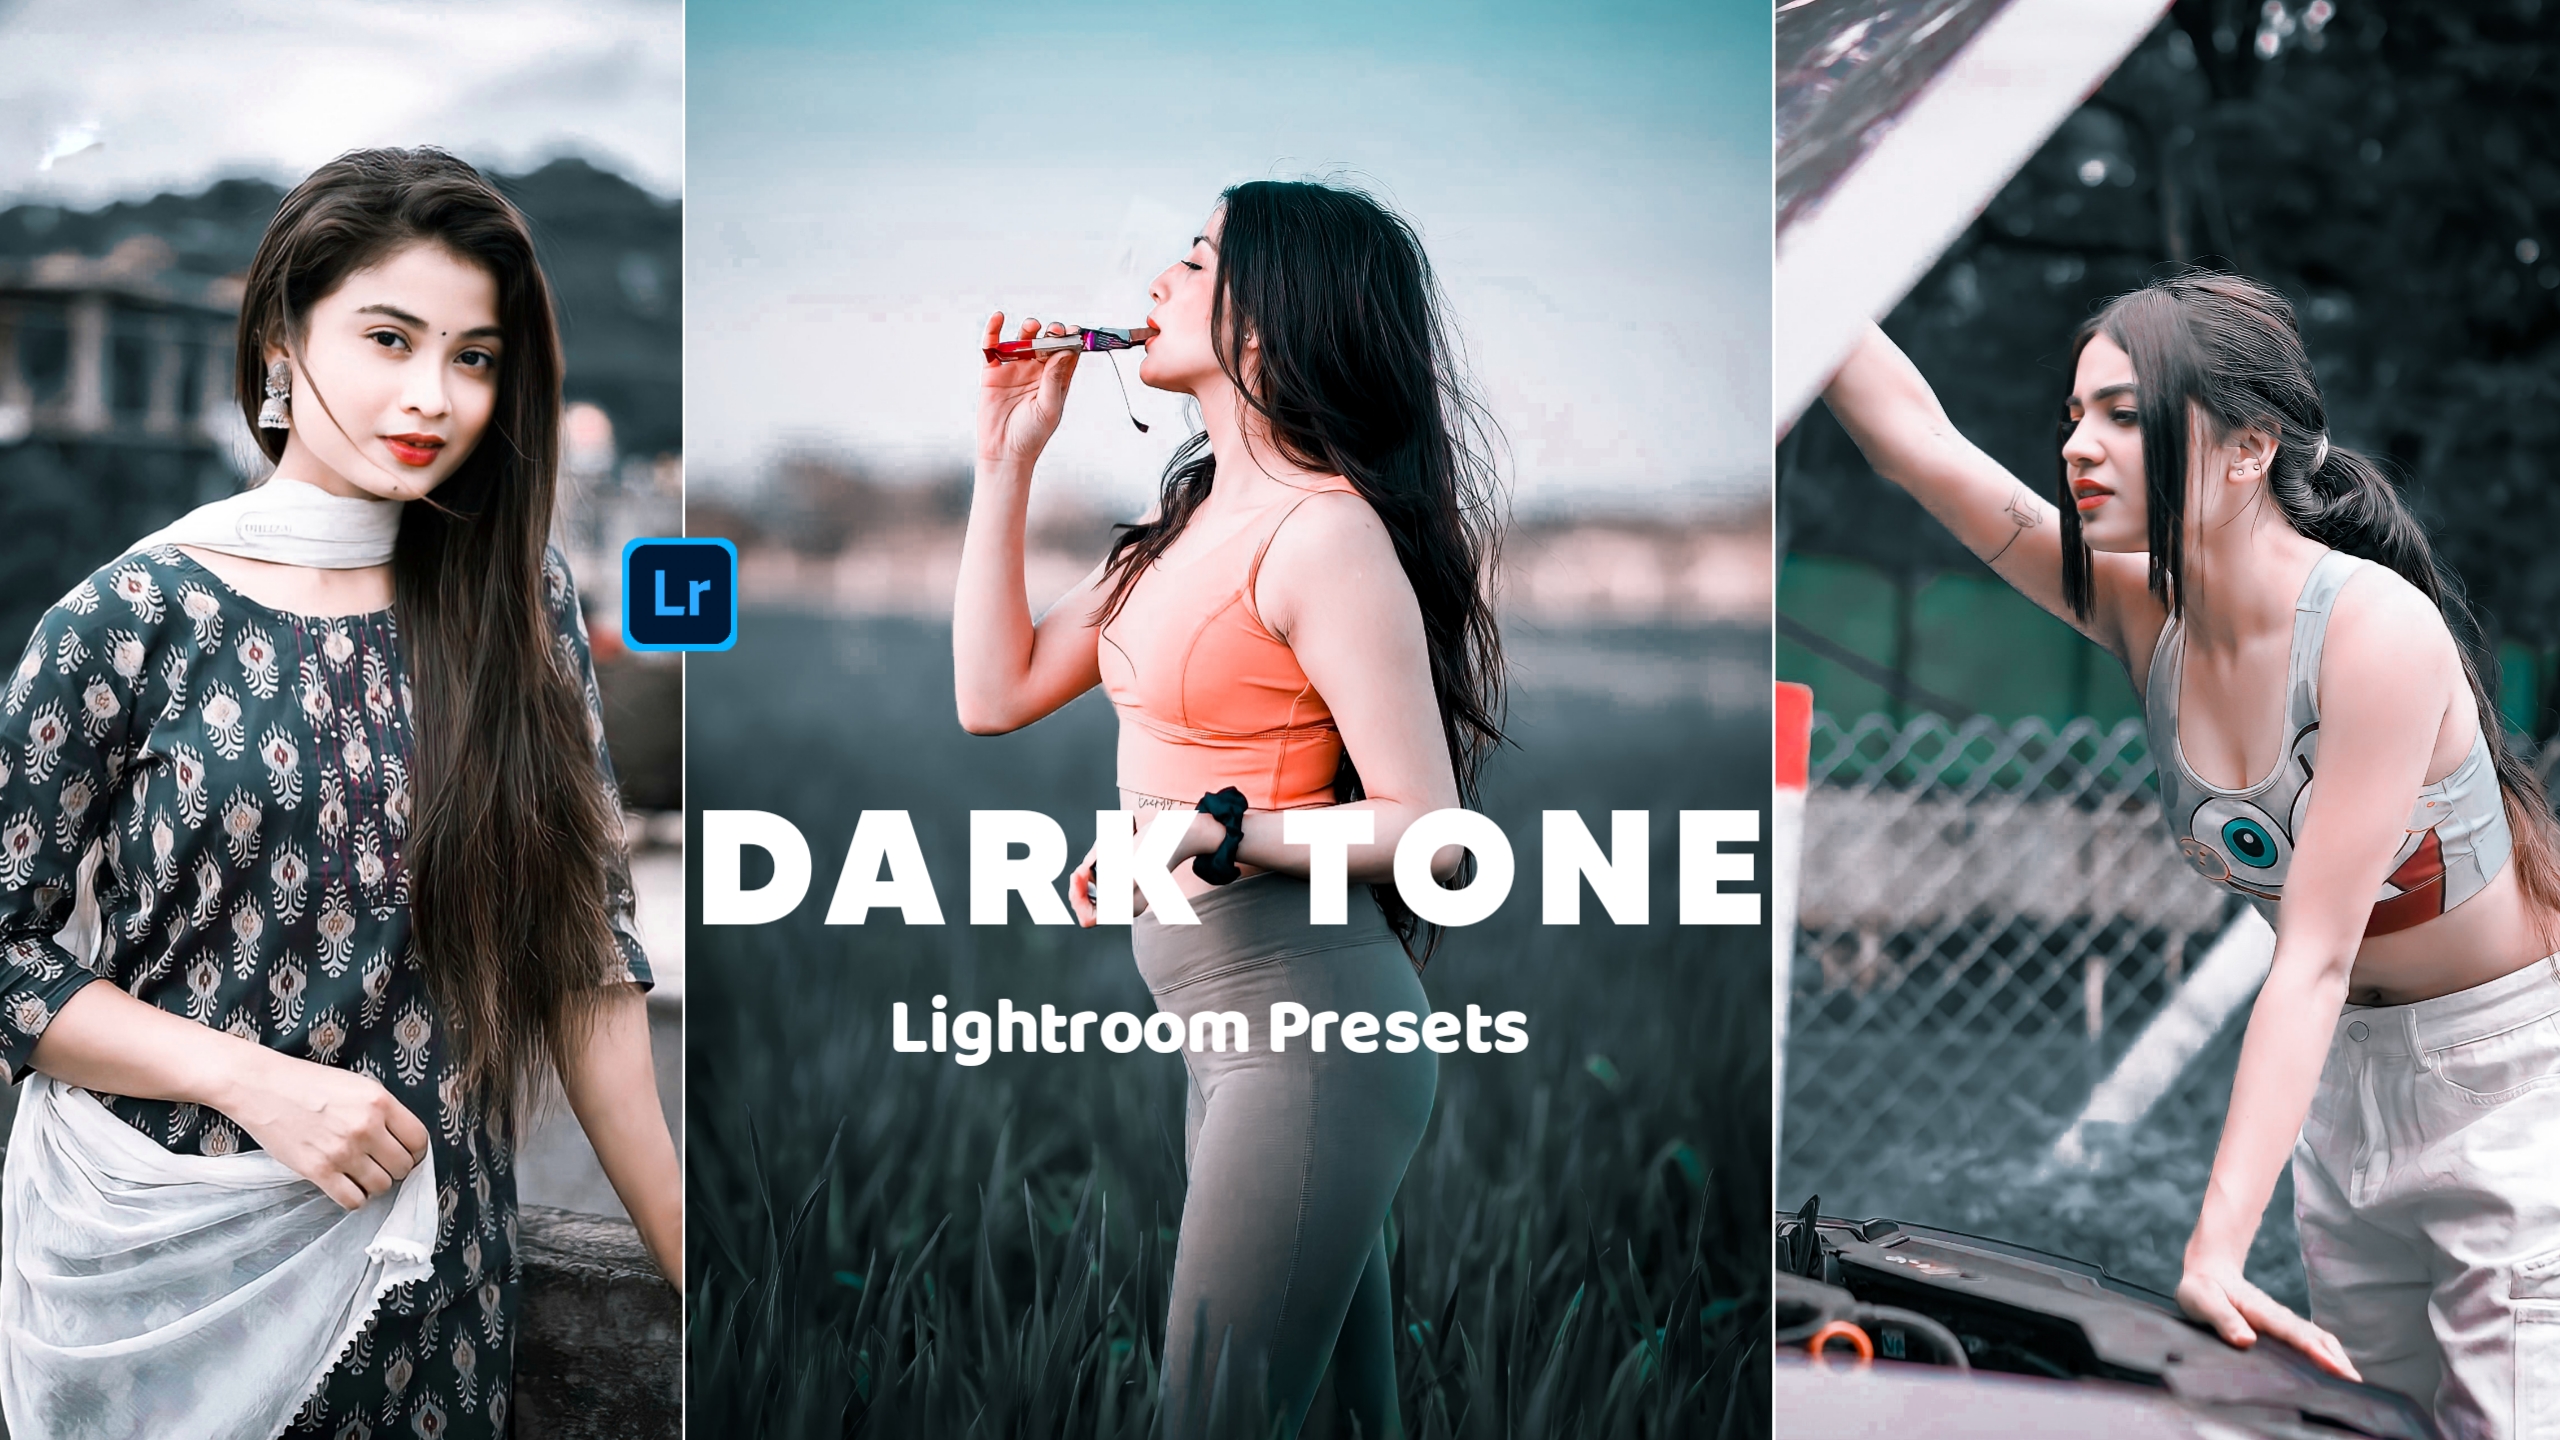
Lightroom Dark Tone Preset :- Hello all friends, welcome to all of you dark tone lightroom preset. You all know that the picture edited in dark tone looks very attractive. That’s why I made this dark preset for you. You can download these presets for free and they are available in HD quality. People who like to edit photos in dark color grading in lightroom app must try this preset. This preset will let you edit photos in amazing dark color. Let me tell you that almost all photographers use our presets. Because I give preset for free and give premium.
If you want more material related to photo editing, you can search our website.
Lightroom Photo Editing
First of all add any picture you want to edit in the lightroom app.
Now you will get to see many tools
Color tool – photo color adjustment
Light Tool – light adjustment
Effect Tool – clearly increase
Detail – Face Smooth Editing and Sharpening adjustment
Golor Grading – Skin color change and background light and shadows color adjustment
How To Get Lightroom Dark Tone Preset
So guys you like this preset and you want to have it. So read the steps mentioned below and proceed further. Read each and every step carefully. If you miss somewhere then you may fail to download. That’s why take some time and move forward.
Find the download button given in this article.
After this, open the link in a browser.
Now you are able to see a simple photo. But this is a dng file. You can see its form only after downloading it.
How To Add And Use Lightroom Dark Tone Preset
- First download the preset by clicking on the download button
- Now add preset and image to lightroom app
- then open the preset in the lightroom app
- Then by clicking on the menu in the top right corner, copy the preset settings
- now open the picture in lightroom app
- After that again by pressing the menu given in the top right corner, choose the paste settings option
- Now you can see that preset has been applied to your picture and the beauty of the picture has increased.
Read Also –
Black And Aqua Lightroom Presets
Orange Lightroom Preset Free Dng
Black And Brown Lightroom Preset
What To Change After applying A Preset
Friends, you all know that presets do not reduce equally on all photos. The preset works well on photos that are similar to the one used in the preset. That’s why it is important to make some changes after applying the preset to the photo. Like color, light, temp, tint etc. What changes have to be made are explained in the following steps below. Read each and every step carefully and proceed further.
Face Color Fixing – To fix the color of the face (Tamp and Tint) change the value. If you want to whiten your face, use the orange color panel.
Light Fixing – Use the light tool to fix the light properly in the picture.
Related Posts:
- Aqua And Orange Lightroom Preset | Aqua And Orange Preset

- Deep Green Color Tone Lightroom Presets | Deep Green Preset

- Black And Orange Lightroom Presets | Free Lightroom Presets

- Beautiful 21+ Fall Lightroom Presets | Fall Presets…

- Film Faded Lightroom Preset | Film Faded Preset Download

- Dark Portrait Lightroom Preset Download Free
