
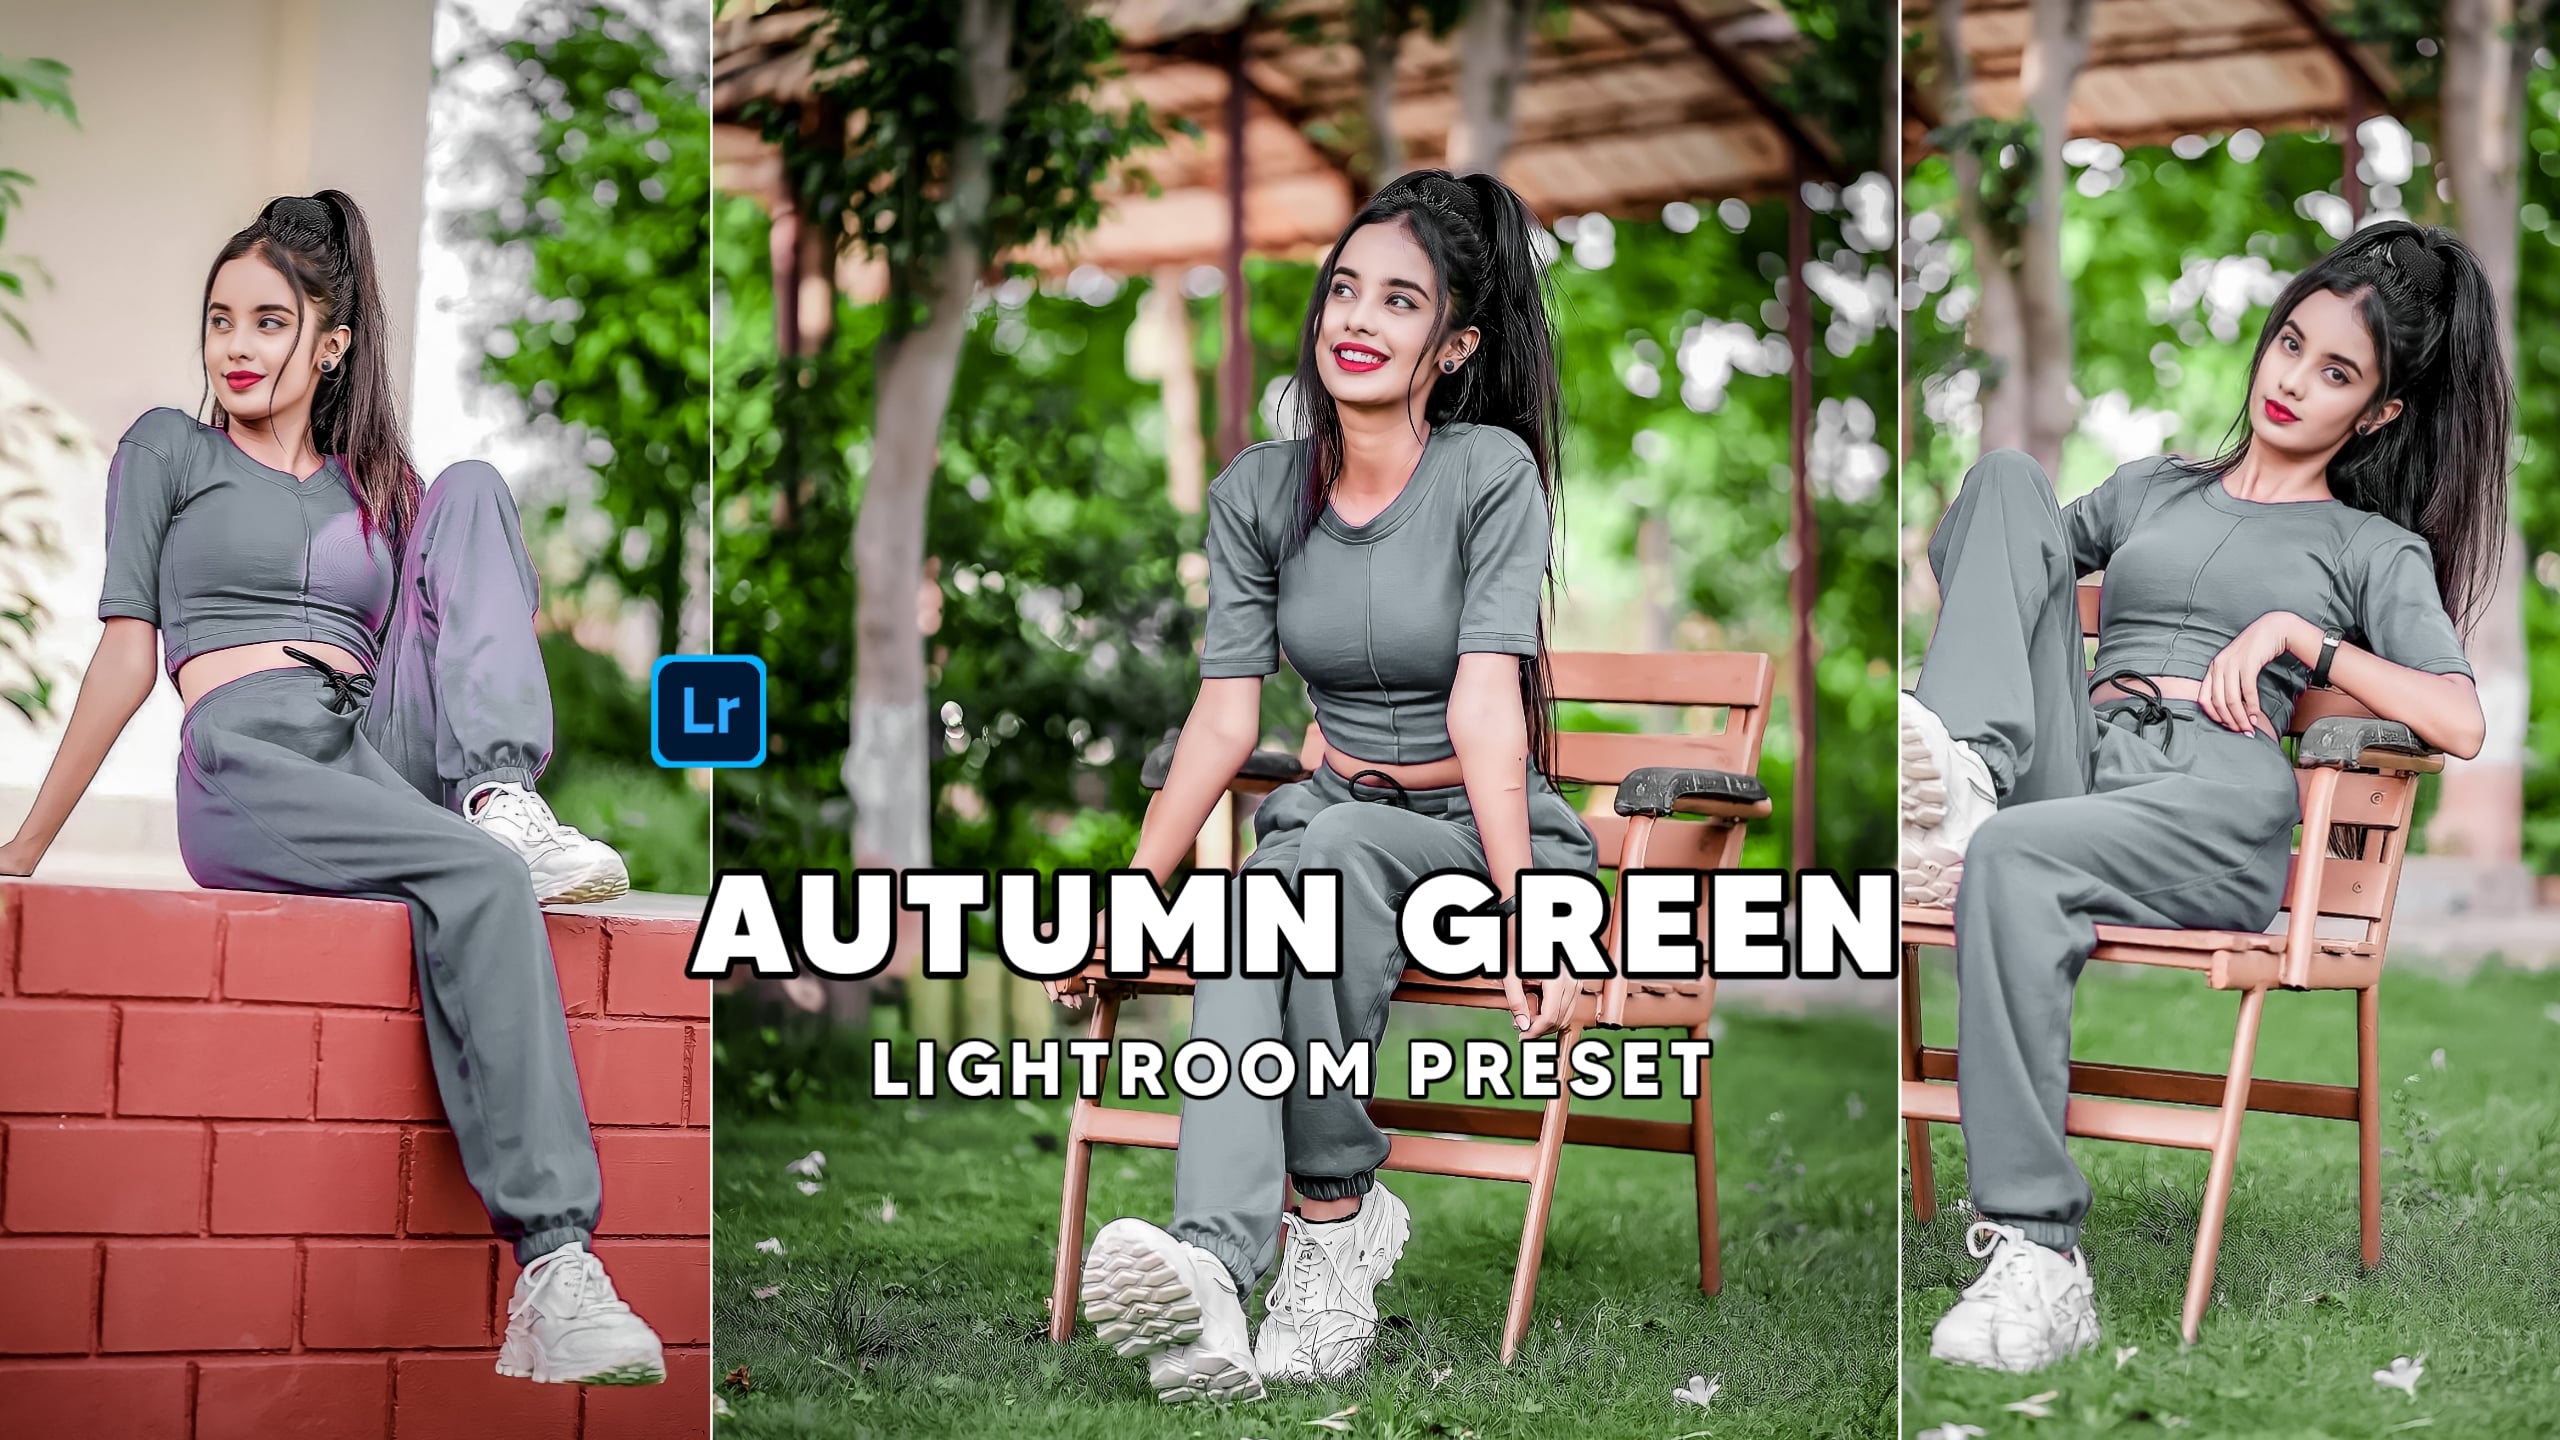
Lightroom Autumn Green Preset :- Hello all friends and I hope everyone is fine. So in this article I am going to tell you about autumn green lightroom preset. You must have seen the pictures clicked in autumn. This preset can be used to edit those autumn images. This preset is mainly used for editing autumn photos. So you go for a walk outside in a green or dry forest and there you click a picture. Do try this preset to make those pictures beautiful. I can tell you with the claim that autumn images can be made very beautiful using this preset.
If you need more presets, you can search our website.
How To Download Lightroom Autumn Green Preset
So guys you like this preset and you want to have it. So read the steps mentioned below and proceed further. Read each and every step carefully. If you miss somewhere then you may fail to download. That’s why take some time and move forward.
Find the download button given in this article.
After this, open the link in a browser.
Now you are able to see a simple photo. But this is a dng file. You can see its form only after downloading it.
How To Use Lightroom Autumn Green Preset
The presets I have given you are in dng format. It is very easy to apply it on photos. Read below the method to apply it on photos and go ahead.
- Install lightroom app in mobile from play store.
- Now open lightroom in mobile.
- Select add photo option and install dng file and preset.
- Next, open the dng preset in lightroom
- Now choose menu settings option.
- After this copy all the settings of the dng file.
- Now open the photo in lightroom.
- Now again select the menu settings option.
- After that press the paste settings option.
- Now the preset has been applied to the photo.
How To Edit Photos In Lightroom Mobile
First of all add any picture you want to edit in the lightroom app.
Now you will get to see many tools
Color tool – photo color adjustment
Light Tool – light adjustment
Effect Tool – clearly increase
Detail – Face Smooth Editing and Sharpening adjustment
Golor Grading – Skin color change and background light and shadows color adjustment
What To Edit After Applying Preset
Friends, you all know that presets do not reduce equally on all photos. The preset works well on photos that are similar to the one used in the preset. That’s why it is important to make some changes after applying the preset to the photo. Like color, light, temp, tint etc. What changes have to be made are explained in the following steps below. Read each and every step carefully and proceed further.
Face Color Fixing – To fix the color of the face (Tamp and Tint) change the value. If you want to whiten your face, use the orange color panel.
Light Fixing – Use the light tool to fix the light properly in the picture.
Conclusion
So friends, how did you all like this Lightroom Autumn Green Preset article and what kind of articles do you want to read next on our website. If you have any problem then do tell us in the comments.
Related Posts:
- Black And Orange Lightroom Presets | Free Lightroom Presets

- Top 7 Outdoor Presets | Lightroom Outdoor Presets Free

- Beautiful 21+ Fall Lightroom Presets | Fall Presets…

- Portrait Soft Green Lightroom Presets Free | Green Preset

- Vintage Green Lightroom Preset | Lightroom Presets Download

- Matte Green Tone Lightroom Presets | Matte Green Preset
